The Power of 3D Printing for Implementing 5S

Peyton Shelton
Marketing and Social Media Coordinator
The 5S methodology centers around organization, efficiency, and waste elimination. Initially developed in Japan, 5S provides a framework for optimizing workspaces for productivity, quality, and safety. The five pillars of 5S are:
- Sort (Seiri) - Remove unnecessary items from the workspace that don't support the work process. This clears away clutter and distractions.
- Set in Order (Seiton) - Organize and color code essential items to be easily accessed and put away. Place frequently used tools closest to workers.
- Shine (Seiso) - Regularly clean the workspace and equipment to maintain safe functionality. Cleanliness enables inspection and exposes abnormalities.
- Standardize (Seiketsu) - Create consistent procedures for an ideal workflow. This facilitates training and consistency.
- Sustain (Shitsuke) - Ensure the team follows and continuously improves the new standards. This embeds 5S practices into the culture.
While the principles of 5S provide a solid foundation, implementing the methodology can prove challenging without proper tools and aids—this is where 3D printing comes in.
Benefits of 3D Printing for 5S
With 3D printing, organizations can rapidly create customized components that optimize their unique 5S processes in these key ways:
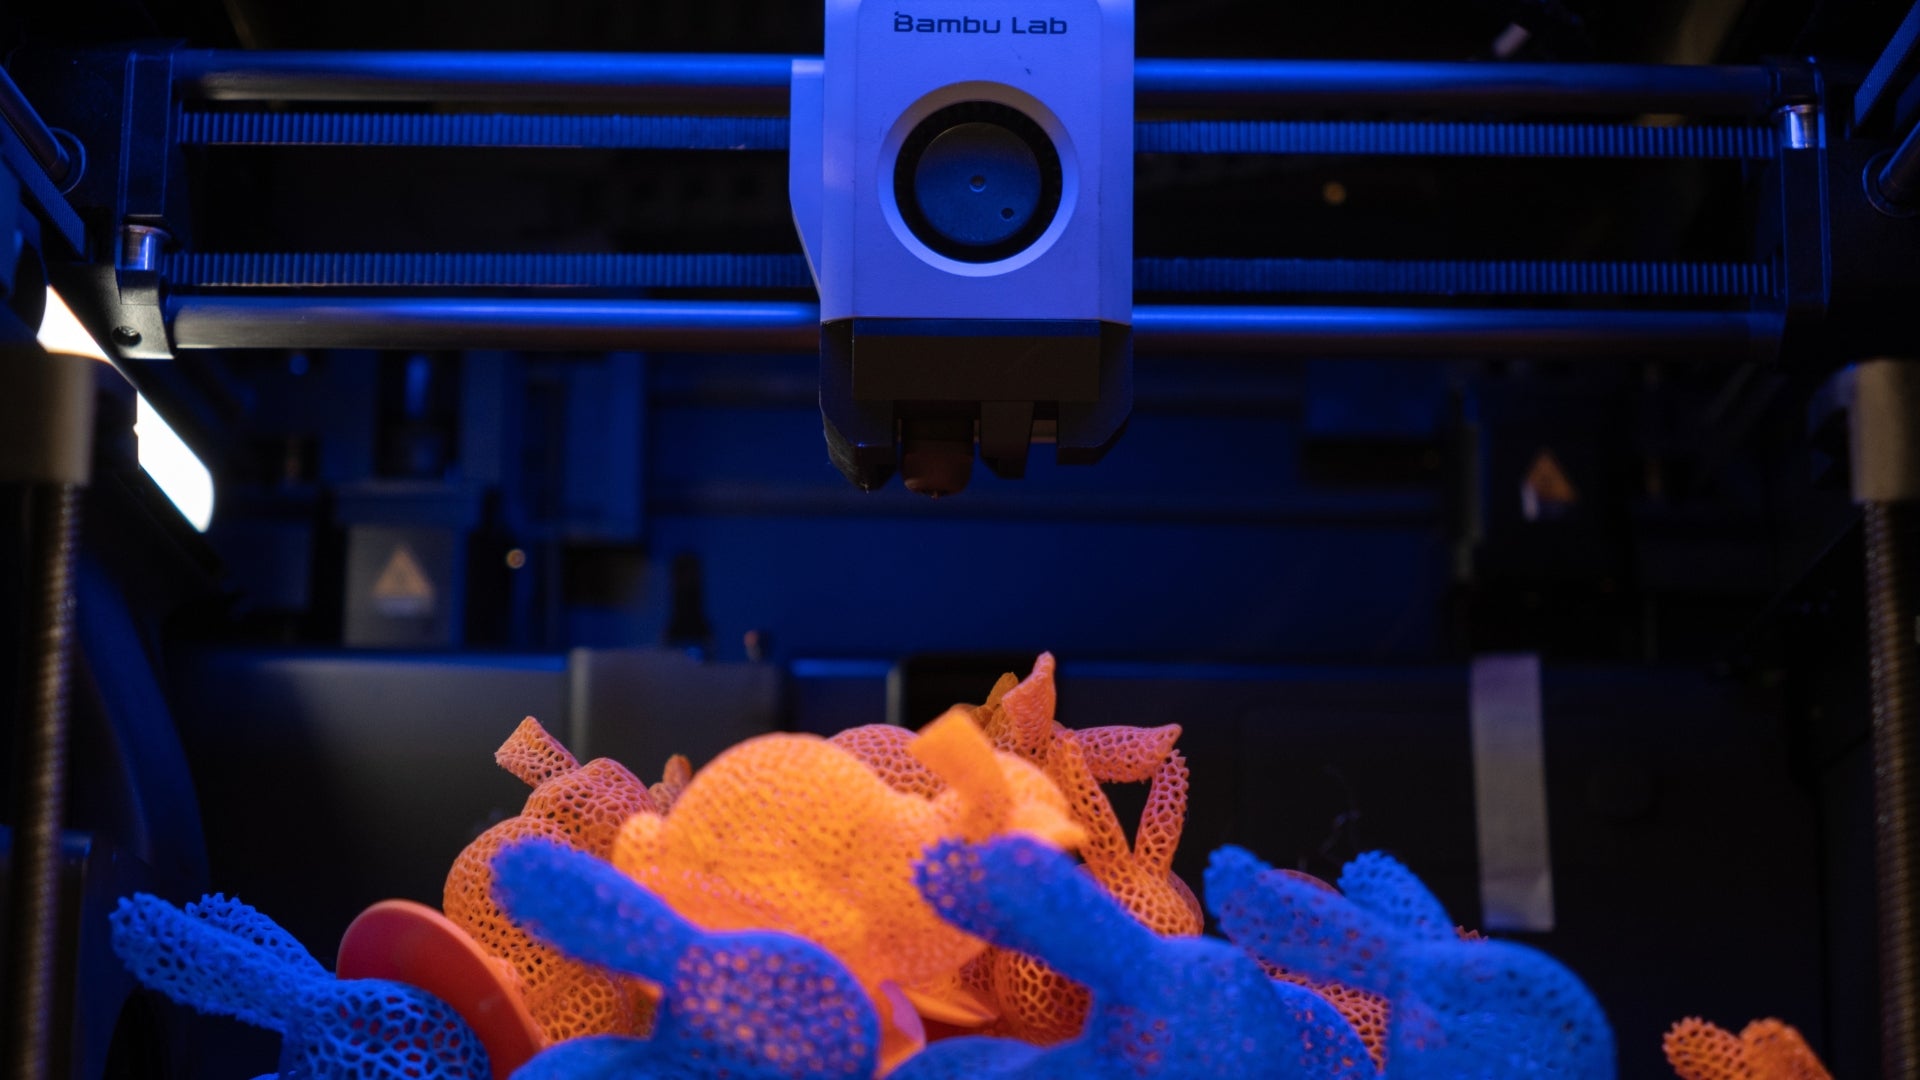
- Visual Management - Printed shadow boards, labels, signs, and other visual indicators can designate proper tool locations and workflow paths to improve organization. Vibrant colors also help categorize items.
- Storage and Organization - The ability to design specialized hooks, brackets, holders, bins, and compartments ensures streamlined organization of equipment, materials, and components.
- Ergonomics - Printed handles, grips, and tools that conform to workers' hands reduce fatigue and injury from repetitive tasks. Jigs and fixtures can also improve posture.
- Standardization - Color-coded 3D printed gauges, blocks, and templates ensure consistent setups and quality checks per 5S principles.
- Space Efficiency - Custom mounts, racks, shelves, and wall storage solutions maximize vertical and horizontal storage space.
- Rapid Reiteration - Designs can be quickly modified based on feedback to improve the system continuously. New aids are printed on demand.
Implementation Examples
Some real-world examples of how companies can use 3D printing to enhance their 5S implementations:
- An auto manufacturer prints custom brackets to mount tools at every workstation, ensuring tools are always properly organized and put away.
- A plastic molding company 3D prints shadow boards with color-coded outlines of each mold component, streamlining equipment location and visual inventory.
- A machining shop designs jigs with tactile handles that technicians grip comfortably for hours, boosting productivity and reducing repetitive stress.
- An electronics facility prints rotating carousels to store and dispense tiny hardware like washers, resistors, and bolts for easy picking.
5S Color Coding Standards
Color is a vital visual asset in 5S implementations. Standardized color codes designate specific areas, items, and statuses for immediate identification:
- Yellow indicates safety and caution, designating aisleways, traffic lanes, work cell paths, and areas where precautions should be taken.
- Red designates defect and scrap areas.
- Orange signifies inspection zones and energized equipment.
- Green represents finished goods inventory.
- Blue is for raw materials.
- Black denotes works in progress.
- White marks production equipment like machines, carts, and benches.
3D printing allows organizations to integrate color coding into their 5S systems in multiple ways:
- Printed signs, labels, and parts in designated colors to mark area boundaries, aisles, zones, and safety equipment.
- Color-coded brackets, holders, and storage bins to sort and organize tools, materials, and components.
- Shadow boards with colored outlines showing specific tool locations.
- Colorful gauges and templates for quality control and standardization.
- Tape dispensers and custom mounts for placing colored tape on floors and equipment.
With affordable desktop 3D printers, organizations can produce color-coded 5S solutions themselves in-house. The strategic use of color coding through 3D printed indicators and organizers is invaluable for achieving the visual management, discipline, and continuous improvement goals of the 5S methodology. Vibrant colors add clarity and order to enhance workflow, safety, quality, and productivity.
How to Integrate 3D Printing into Your 5S System
Getting started with 3D printing can seem daunting to organizations new to the technology. However, thoughtfully integrating it into your 5S system does not have to be an intimidating process. With strategic planning and execution, 3D printing can provide immense value without significant disruptions.
First, assess your current 5S implementation and identify specific pain points and opportunities for improvement. Determine which organizational, visual, ergonomic, or standardization issues could benefit from customization or 3D-printed components. Prioritize areas with the biggest potential impact.
Once you've decided where 3D printing can help optimize your processes, follow a structured approach for effective implementation. Moving step-by-step allows you to introduce 3D-printed aids while ensuring a smooth transition. With training and continuous small changes, 3D printing can transform your 5S program.
Below is a detailed guide on the key steps to integrate 3D printing technology into any 5S workspace or facility:
- Assess your current 5S implementation and identify areas that could benefit from 3D printed tools. Look for needs related to organization, storage, visual controls, standardization, ergonomics, and more.
- Prioritize solutions and determine which ones can be 3D printed. Common options include storage bins, labeled signage, jigs, fixtures, and workspace layout tools.
- Select a reliable, user-friendly 3D printer for your environment and budget. Desktop FFF printers are generally the most accessible and cost-effective option.
- Choose appropriate materials, like Polymaker’s PolyLite PLA filament, in the relevant 5S colors. Invest in quality filament for best print results.
- Design solutions in 3D modeling software like Fusion 360 or search for pre-designed models from 3D printing communities and model libraries. Printables, Thingiverse, and Thangs are popular options with many free print files for use or inspiration.
- Print prototypes and have workflow stakeholders test them to optimize the designs. Gather feedback and iterate.
- Once optimized, print the final 3D-printed 5S aids and implement them into the workspace. Train staff on their purpose and use.
- As processes improve, continue identifying new 3D-printed items that could further enhance efficiency. Reinforce adoption through training.
- Standardize the best 3D printed solutions and continually re-print components as needed to support sustainability. Drive continuous improvement.
With strategic planning and design, any organization can leverage 3D printing to create an optimized 5S environment. Begin integrating it in small ways, demonstrate benefits, and scale up implementation over time. The ability to 3D print purpose-built solutions unlocks immense potential to streamline workflows.
A well-executed 5S system that engages workers through 3D printed tools leads to reduced waste, improved quality, greater safety, higher productivity, and a culture of continuous improvement.